Interior Lighting (2)
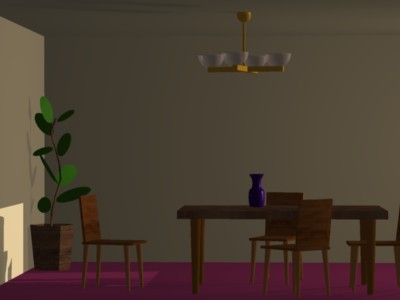
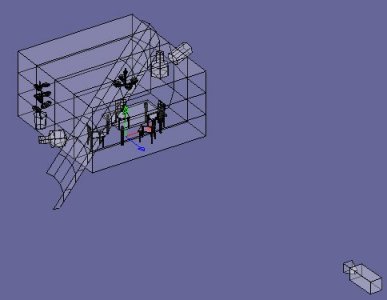
Have a look to the image on the right!
|
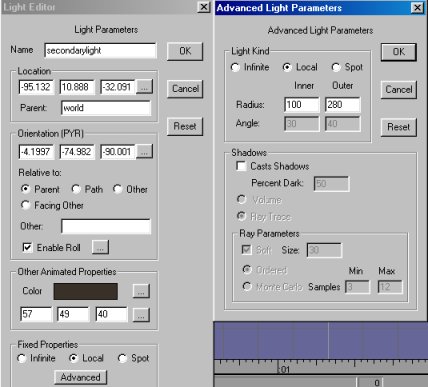
We shall add a new local light counting as a secondary
source, right in the middle of the bright spot on the wall (see the
setup on the previous page). On the left there are the settings of the
third light. Its intensity is comparable with the exterior light, but I
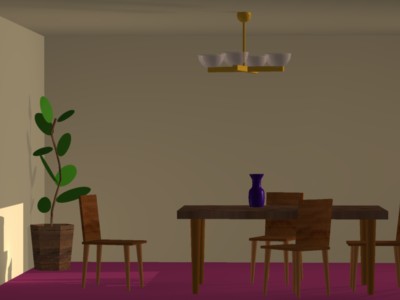
set a smaller outer radius where it is effective. Look at the test render with the three lights (below): |
It is much better. Though the lighting seems to be OK, the
furniture continues to look flat! We have reached an other subject neglected by less experienced anim8ors, that of the materials. The lighting of a scene is a combination of the light sources and materials that receive the light. The default material settings (used until now in this tutorial) are better suited for outside scenes with global illumination. In our room there is a high contrast between the surfaces illuminated directly by the sunlight and the others not directly lit. |
In order to reproduce the reality, we have to adapt the
materials for that contrast. To have more light on lit surfaces, the
"diffuse" component of the material has to be set high. To obtain
contrast with parts not directly lit, we have to lower the "ambient"
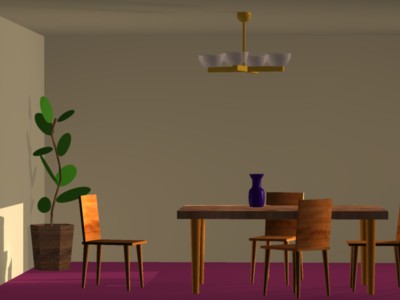
component. See the material settings for the furniture on the left: Notice also the absence of "specular" component for the carpet material. Such surfaces that throw the light equally in every direction are called "Lamberthian" and must have no shine at all! See the test render with the adapted material settings below: |
Look at the difference! Now the scene seems to be alive.
Something is missing however... OK, let's add a volume light! As Anim8or v0.85 doesn't have volume light, we shall simulate it using a completely transparent half cylinder, taking advantage of its specular reflection. See below the setup for the volume light and the final rendering of the scene: Have fun! Leslie |