Lighting Effects
Surprising lighting effects can be achieved in Anim8or version 0.6
scenes with just a little effort. You will find below a few tricks for
faking volume light, glow, lens effect and changes in global illumination
(color and intensity). All of these effects are animatable.
This is not intended to be a step-by-step tutorial (I assume that you are
an Anim8or user), but a guideline and a challenge for your imagination.
First look at some images, later I'll describe the "tools" responsible
for the effects. If you are passionate about lighting effects, I am convinced
you can do much better than me!
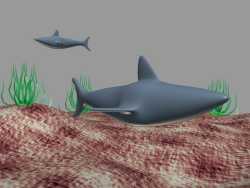
Let's try to improve a scene using filters, and I mean almost real objective-lens
filters. The Shark-scene, as you can find it in Anim8or's Manual,
is down-loadable from Elias Marzane's
anim8ortrade.
|
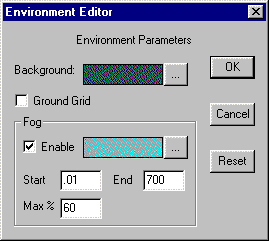
First, a little make-up by setting a background
color for the environment, enabling a partially transparent fog,
reorienting the lights and adding a shadow. |
 |
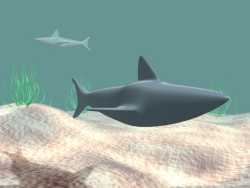
| Shark-scene
with fog and shadow |
|
Now, if we would like to decrease the
transparency of the water so that even the foreground shark to be faded
and the background one to remain still visible, we couldn't manage it by
setting the fog parameters (which already starts from the camera). We need
a nonzero origin value for the fog. Placing a tiny neutral filter in front
of the camera, |
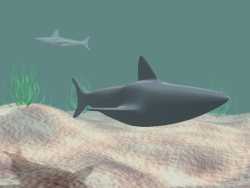
| Neutral filter,
adding fog in foreground |
|
covering its whole field, can do this. Setting
the transparency of the filter, we adjust the starting value for the fog.
Using colored filters, we can change the hue of the image. Our water, even
with reduced transparency, seems too limpid, needs some turbidity. It's
begging for micro-plankton! So, let's add a spotted filter.
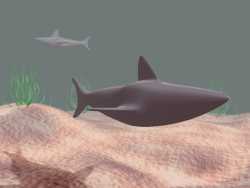
| Shark-scene
with red filter |
|
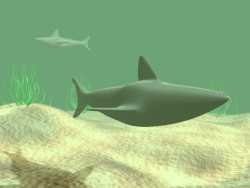
| Shark-scene
with yellow filter |
|
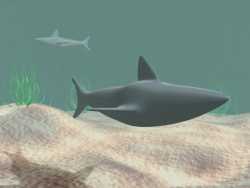
| Micro-plankton
(seen only in high-res) |
|
Evidently, a single filter object can act
as a color filter, transparency filter, texture projector (as the spotted
filter does) and so on.
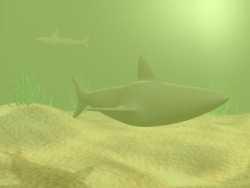
| Shark-scene
with glow filter |
|
In order to look great, our scene needs
some diffuse light. Let's try a glow filter! It is much better. The
glow filter has its own color (yellow) and has an amount of self-illumination
(ambient) to light up the image. See the set-up. |
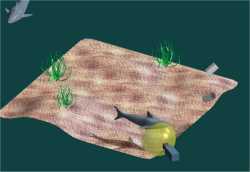
| Hemispherical
glow filter |
|
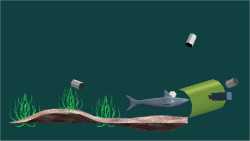
| Tilted cylindrical
filter |
|
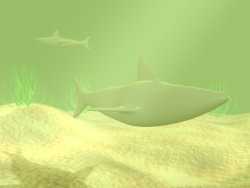
Now, we remove the glow filter and add
volume light, using a cylindrical filter. See the set-up. We have got a
more convincing underwater scene. |
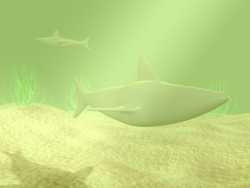
| Click
the image to enlarge |
|
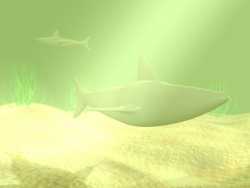
| High specular
value filter |
|
By changing the material parameters of
the filter we can set the volume light effect. |
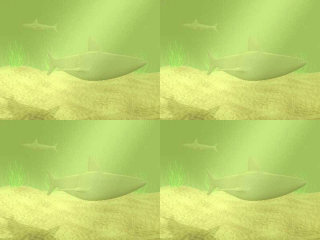
| Low specular
value filter |
|
| Small movements of the filter may afect
considerably the image and that is one of the possibilities for animating
the effect. |
 |
|
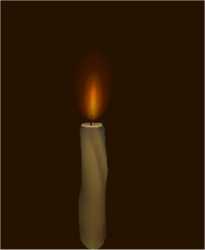
Ending the diving, we are ready to jump
right into the fire!
|
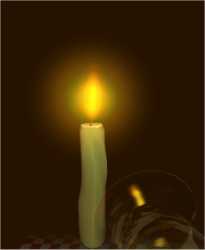
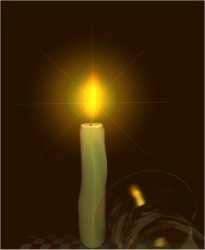
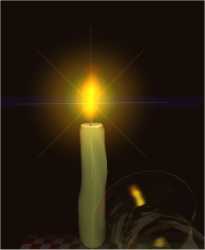
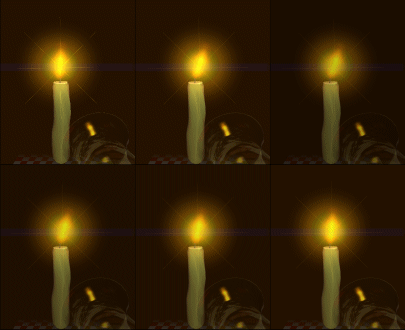
The candle's flare was done with a shiny
surface, user lights and fog, inspired by the superb spectrum effect of
Wladyslaw Strugala's
rainbow.
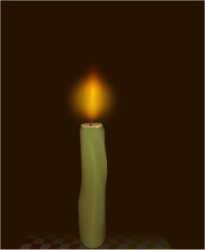
Adding a glow filter, adding one more, some rays (with a transparent shiny
cylinder-made star object) and finally a discrete anamorphic effect
(a simple blue |
|
transparent cylinder), we get a pretty
nice lens effect.
|
|
|
Anamorphic Click
to enlarge
|
|
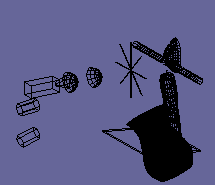 |
See on the left the setup of the scene.
Moving the candle's flame along with the effects' source objects and using
a transparency filter sliding in front of the camera, we are able to animate
the effects. Skinning the flame would have given a more realistic look. |
 |
Next page
----->


