Reflections Notes


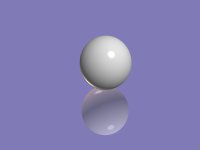
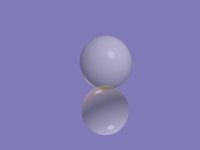
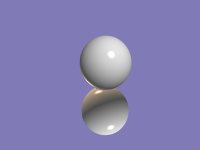
These notes shows how to make simple reflections like the one at the right.  You do this by rendering several images of a scene in Anim8or and then combing  them in a paint program.  These notes refer to the readily available Paint Shop Pro 4 shareware program, but most other paint programs can be used as well.

Thanks to Lloyd Schoenbach for writing these notes.

----------------
In Anim8or:

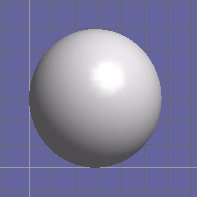
Fig01.bmp
  • Create a Sphere with a diameter of 30 (actually Radius).
  • Convert to Mesh.
  • Do a couple of Smooth's.
  • Create a Material:

  • Red 255
    Green 255
    Blue 255
    Specular 1
    Roughness 99
  • Apply to Sphere.
  • Orient Sphere in the Plus Quadrant just touching X Y Z.
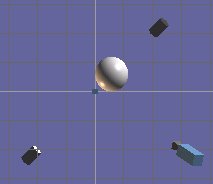
  • Switch to Scene mode, Front View.
  • Keep Anim8or's default placement of Camera & Lights.
  • Add Target.  Leave at 0,0,0.
  • Face Camera at Target.
  • Add Sphere.
Note: The Target may be moved any place for composition purposes.  The one restriction is that the coordinate perpendicular to the plane that you wish to reflect onto must be 0.0.

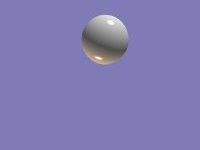
Fig02.bmp

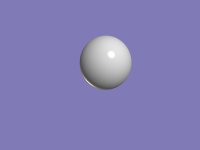
Ball.bmp
  • Switch View to Camera.
  • Under Settings->Scene, set Frames to 1.
  • Under Settings->Environment, deselect Ground Grid.
  • Set Background to:

  • Red 128
    Green 123
    Blue 182
  • Render to File:

  • Name: Ball
    Format: BMP
    400x300 Antialiased
    All Frames
  • Switch to Front View.
  • Double click on Camera.
  • Insert a Minus in front of the Y (center) Location.
  • Switch View to Camera.
  • Render to File:

  • Name: Ball-Y
Rename the 2 Ball*.bmp files by removing the 0000 that Anim8or adds for sequences.

BallY.bmp
In Paint Shop Pro 4:

Fig05.bmp
Other graphics programs may be used.  Just translate these methods.
  • Open Ball.bmp and Ball-Y.bmp in PSP.
  • Select Ball-Y image and do Image->Flip.  Do Image->Arithmetic:

  • Source #1: Ball.bmp
    Source #2: Ball-y.bmp
    Function: Add
    Channel: All
    Divisor: 2
    Bias: 0
Duplicate (for safety) the above images with Copy & Paste.
  • Click the Magic Wand tool

  • Match Mode:  Brightness
    Tolerance: 0
    Feather: 0
  • Click on the background of Ball-Y image.
  • Do Select->Invert.
  • Do Copy.
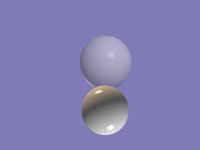
  • Do Paste As New Selection into Fig5 image, aligning carefully with lower ball.
  • Click when aligned.

Fig06.bmp

Fig07.bmp
  • Click the Magic Wand Tool.
  • Click the background of the Ball image.
  • Do Select->Invert.
  • Do Copy.
  • Do Paste As New Selection into Fig5 image, aligning carefully with upper ball.
  • Click when aligned.
You now have a white ball under a lavender ceiling sitting on a mirror.
You can now make the ball appear to be sitting on a reflective lavendar surface.
  • Do Image->Arithmetic:

  • Source #1:  Ball.bmp
    Source #2:  Fig07.bmp

Fig08.bmp
The following two figures used the same Anim8or model:

Fig09.bmp

Our sphere snugged into the corner of an XYZ Corner Mirror.


Fig10.bmp

Our Sphere snugged into the corner of R, G, and B planes.


Have fun,

Lloyd Schoenbach

This page was last updated on April 27, 2000.