Anim8or Community

Please login or register.

Login with username, password and session length
Advanced search  

News:

Ian Ross has just released a book on Anim8or. It's perect for a beginner and a good reference for experienced users. It contains detailed chapters on every aspect, with many examples. Get your own copy here: "Anim8or Tutorial Book"

Show Posts

This section allows you to view all posts made by this member. Note that you can only see posts made in areas you currently have access to.

Messages - Olias

Pages: 1 [2] 3 4 ... 6
16
General Anim8or Forum / Re: Free video Editing software?
« on: March 18, 2010, 09:33:29 am »
I use Paint Shop Pro 8, and it's got a pretty decent animation shop included.

17
General Anim8or Forum / Re: Show another person?
« on: March 18, 2010, 09:30:36 am »
Well, if you want to wow him, I'd first direct him to the gallery here.

As for learning Anim8or, what I personally did was print out a copy of the Anim8or manual and placed it in a binder.  I read it through, experimented with Anim8or, then I'd read it through again (gaining a lot more from it), experimented with Anim8or some more, etc.

Tutorials are of course a big help.  It's easy to say "The extrude function extrudes all selected faces", but there's no substitute for seeing exactly how and when to use any given function.

If he's going to take the plunge with organics, i.e. faces or bodies, it would be best to learn edge looping from the get-go, rather than having to go back and learn it later.

18
Added hull plating to the secondary hull, closed and finished the aft torpedo bay, and closed the open hole above the shuttlebay.


19
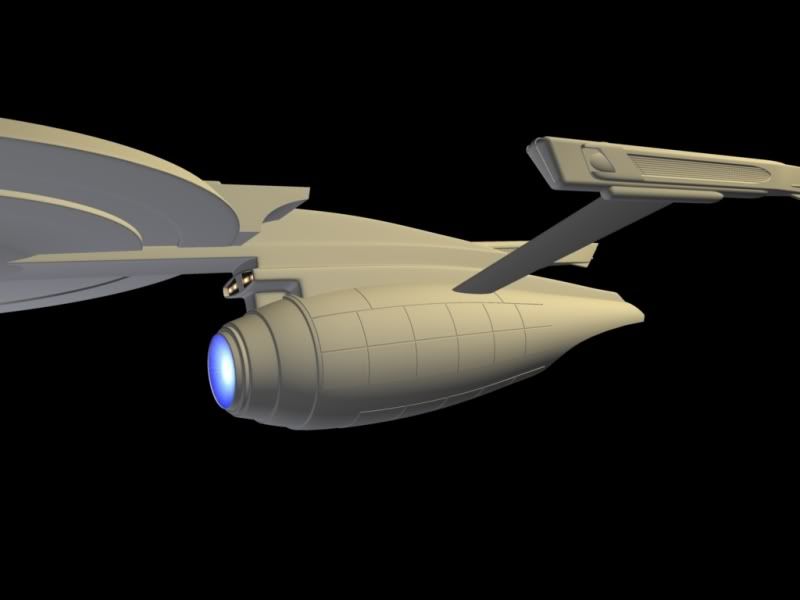
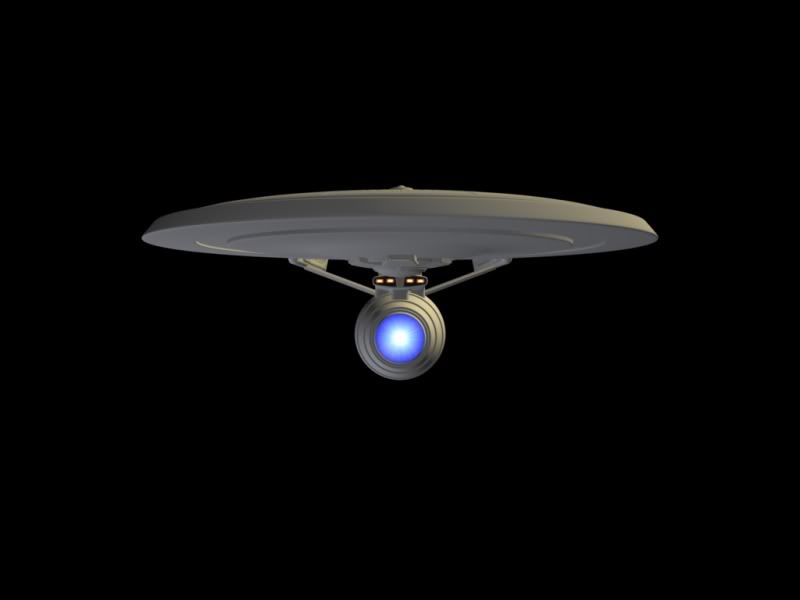
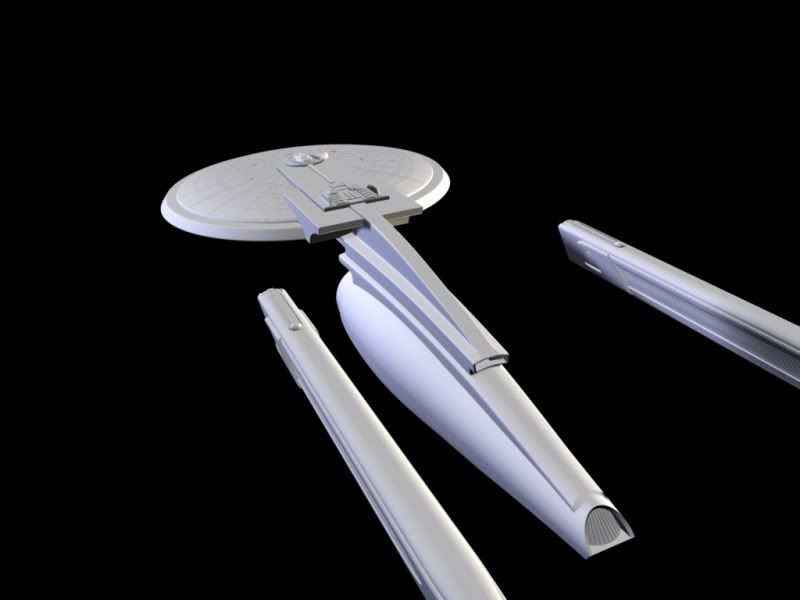
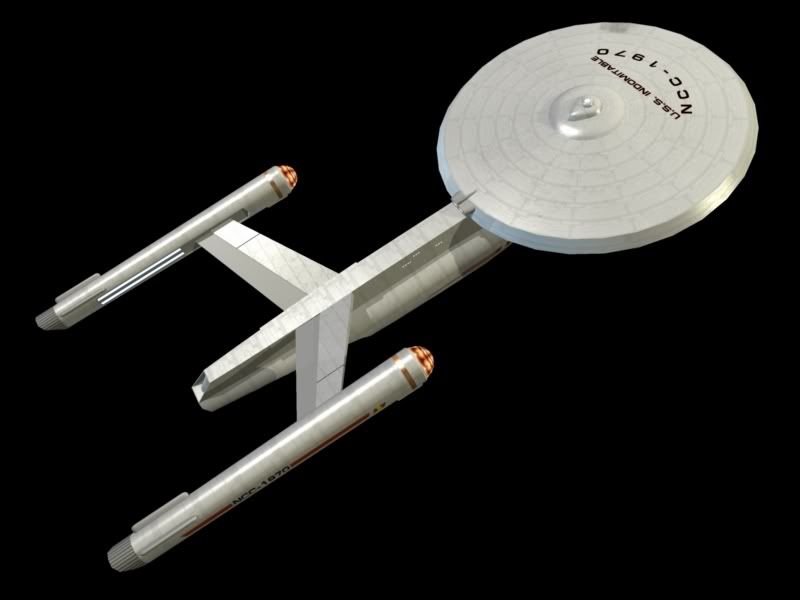
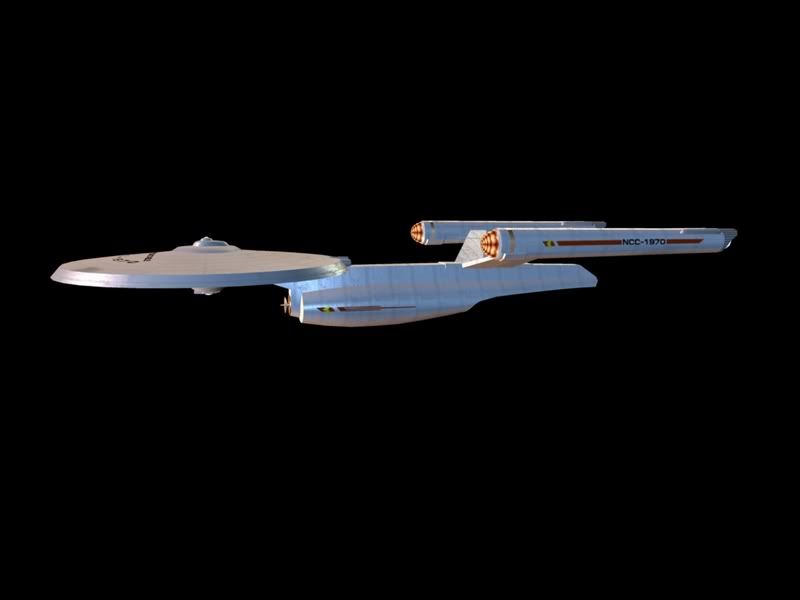
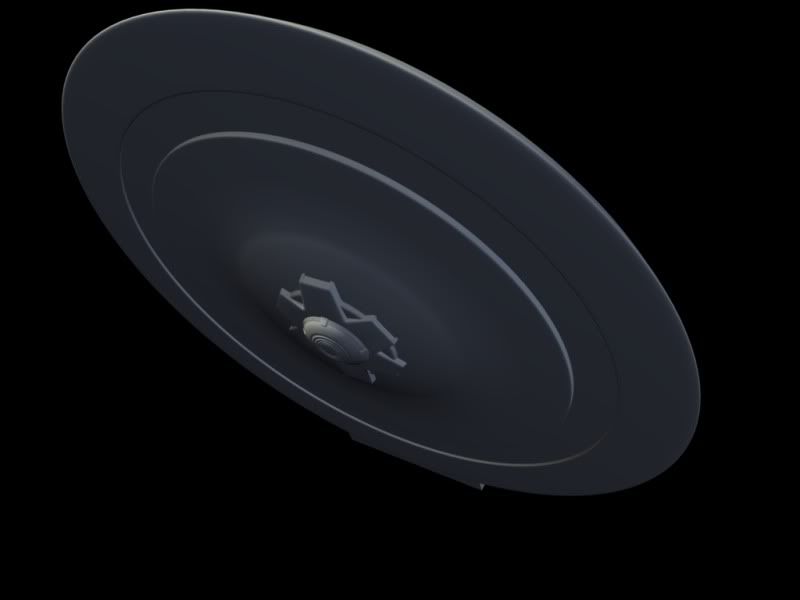
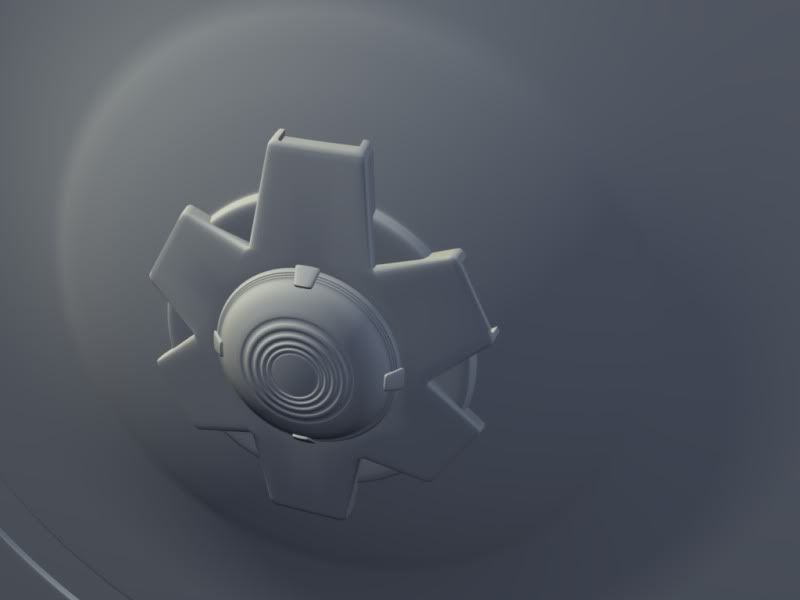
To do the emissive texture on the sensor dish (the big round blue thing), I did the following:

1. Select all the faces of the dish.
2. Detach faces.  (You don't have to do this, but by making it a separate mesh, it allows you to use Anim8or's Texture Generation options which will snap the messh perfectly onto the dish.
3. Create the image with Photoshop, Gimp, or whatever you prefer:


Since we're dealing with a circle, this was an easy one.  Just open up a new project, select a gradient, configure it to be circular, and fill the canvas with it.  I then added a sunburst effect for those radiating lines.

4. Then just create a new material, load your image to the emissive field, set emissive to something other than zero (1 in this case).

5. Go to Object/Edit mode, select the mesh, press the UV button, select yes for "Enable Texture Generation", double click the mesh, make sure "planar projection is selected (should be, it's default)", click reset to default once, and it will snap right on there.

20
Well, if that's what you came up with and you're new to 3D, then you're way ahead of the curve.

From what I can tell, you've got good edge looping going on, and that's pretty critical for properly animating a face.

The only oddity I can see that doesn't seem to go with the rest of the edge flow is those two quads to the side and slightly above the mouth.

Other than that, very good work.  This is definately the way to start if you're going for organics.

21
How did you get the glow in the rocket thing?

Anything glowing is just an emissive texture.  Later, it will be a combination of emissive maps and lights.

22
Here's a few more shots, after completing more of the secondary hull.


23
Thanks everyone. :)

Well, after much tinkering around with it I think I've settled on a concept that I am happy with.  It's a pretty significant departure from the blueprint, but like I mentioned before, if you go with the blueprint you get a crazy long looking thing.


24
Thanks Davdud. :)

Here's a Kerkythea render:


25
Every time I do a Star Trek ship, I debate with myself whether or not I want to do the hull plating as part of the actual model, or work it in later with a bumpmap.  To date, every time I've done it with a bumpmap I seem to run into issues with Anim8or.  It seems to work fine when first applied, then sections of it seems to become reversed (i.e. sunk where it should bump, bump where it should sink.)

So this time, I just modeled the plates in.

Also rebuilt the "wings" and added the dorsal phaser banks.

Here's two ART renders:


26
I don't know if this was a studio model, but based off of this reference image, I added some details to the impulse engine area.  I'm going to redo those two "wings", as I think they could look better.  Also still trying to figure out what those two little thingies are in front of the two dome structures, they're rather hard to make out.


Reference Image


27
Thanks guys. :)

Hiho, good to be back, and nice to see that you're still around as well.

28
Finished Works and Works in Progress / Re: WIP: Locomotive
« on: February 15, 2010, 08:08:47 am »
That's incredible work, one of those shots where the details makes the image just leap off the screen and grab you.

Very nicely done.

29
Finished Works and Works in Progress / Re: Lego 'self-building' animation
« on: February 13, 2010, 08:04:07 am »
Wow, that's outstanding.  Very nice work.

30
The Challenge...

About a year ago I threw together a low-poly set of Star Trek ships with the intention of modding a game.  These were Original Series era ships, and according to the FASA lore the Indomitable wasn't created until the movie-era, but I figured just for giggles I'd take some artistic license and throw together a TOS Indomitable, just to see how it would look in 3D.  Here's the result:


As you can see, it looks rather strange.  It's one of those things that looked great on paper, but in 3D there are very few angles you can view it from where it doesn't look way too long and just rather silly.

I'll be taking some artistic license with it again, and the challenge is to keep it true to the design, but modify it enough to make it look good.

So with all that said, here's some initial renders of my progress on the saucer section so far:


Pages: 1 [2] 3 4 ... 6