Anim8or Community

Please login or register.

Login with username, password and session length
Advanced search  

News:

Ian Ross has just released a book on Anim8or. It's perect for a beginner and a good reference for experienced users. It contains detailed chapters on every aspect, with many examples. Get your own copy here: "Anim8or Tutorial Book"

Show Posts

This section allows you to view all posts made by this member. Note that you can only see posts made in areas you currently have access to.

Messages - Olias

Pages: [1] 2 3 ... 6
1
Finished Works and Works in Progress / Hello there!
« on: January 11, 2024, 03:13:30 pm »
So glad to see that Anim8or is alive and well!

I haven’t done any 3D work in at least ten years, but I lucked out and found an old flash drive in a junk drawer with some of my old files on it.

Here’s a new render of my old Millennium Falcon model.

2
Finished Works and Works in Progress / Re: Ford Capri
« on: November 16, 2012, 11:43:30 am »
Very nicely done.  Awesome renders.

3
General Anim8or Forum / Re: Recently removed all videos from Youtube...
« on: November 16, 2012, 11:30:22 am »
If you're going to take the Blender plunge, then I HIGHLY recommend getting some books.  The Essential Blender, Blender for Dummies, that sort of thing.  Blender's not the kind of thing you're probably going to gain much with if you just try to sit down and mess with it.  Learning the Keyboard Shortcuts alone is huge.

Once I got my feet wet with Blender, I found myself use a combination of both for any given project.  I'd say it was something like 90% an8 and 10% Blender, but that 10% usually was things you could do in five miuntes in Blender that would take three hours in an8.

4
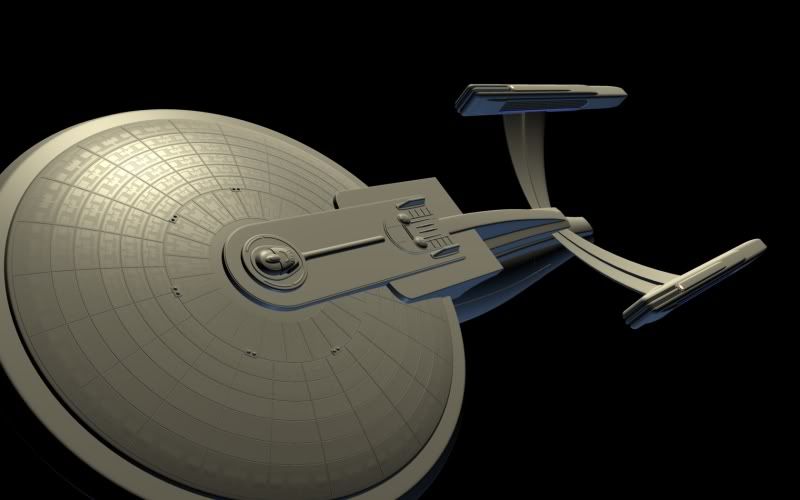
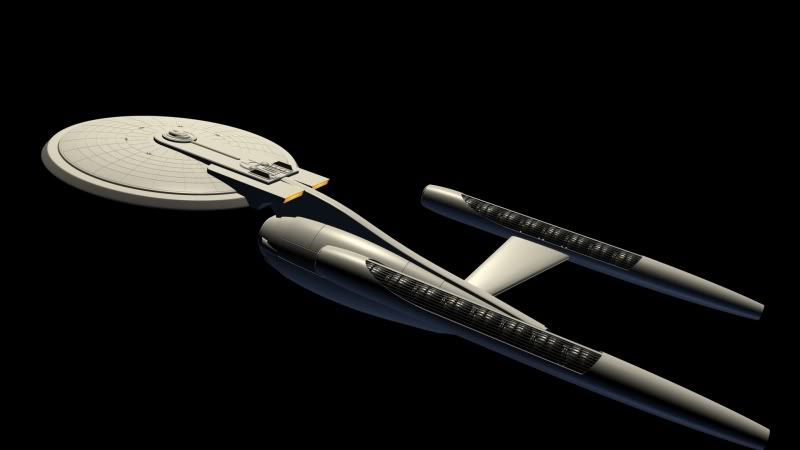
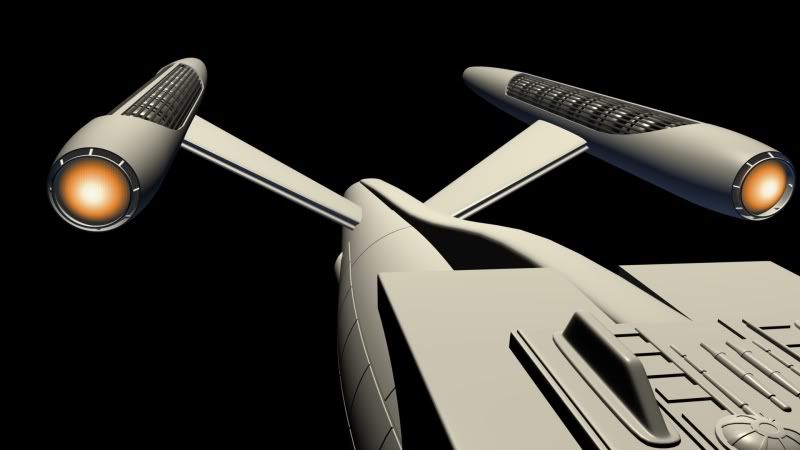
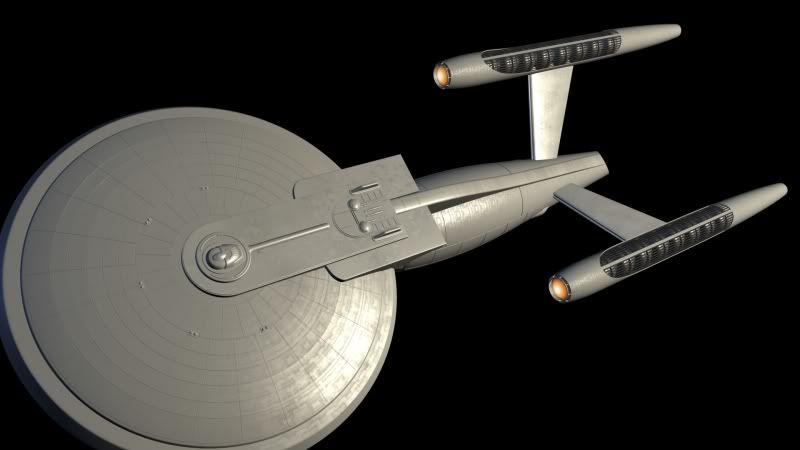
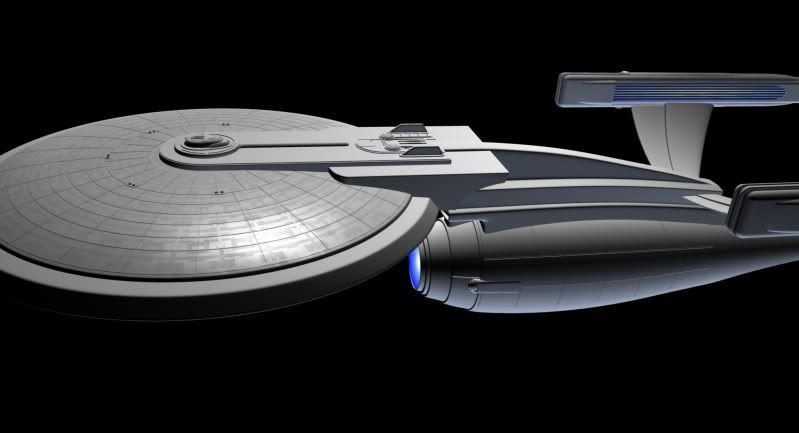
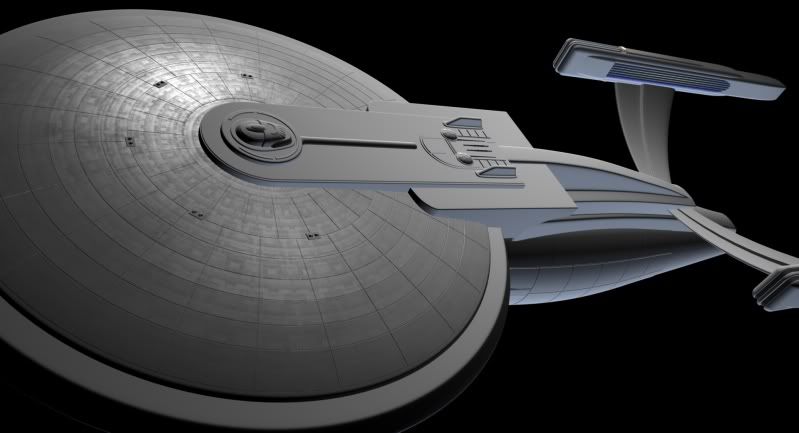
Here, finally, are some new updates.

1. New "Neck".  I totally replaced the section between the primary and secondary hulls.  I wanted to distinguish this ship further from the Enterprise, which has a similar setup...torpedo bay mounted in the neck.  

This new "neck" is also shorter, giving the ship an overall lower profile and making it slightly more similar to the original design.

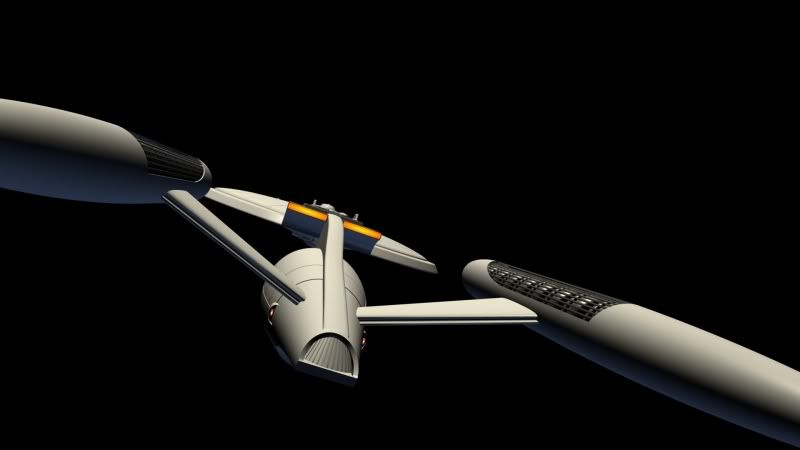
2. Torpedo Tubes.  These are now arranged around the deflector dish forward, and along the sides aft.

3. Deflector Dish.  Detailed this, making it look somewhat similar to the 2009 Enterprise.

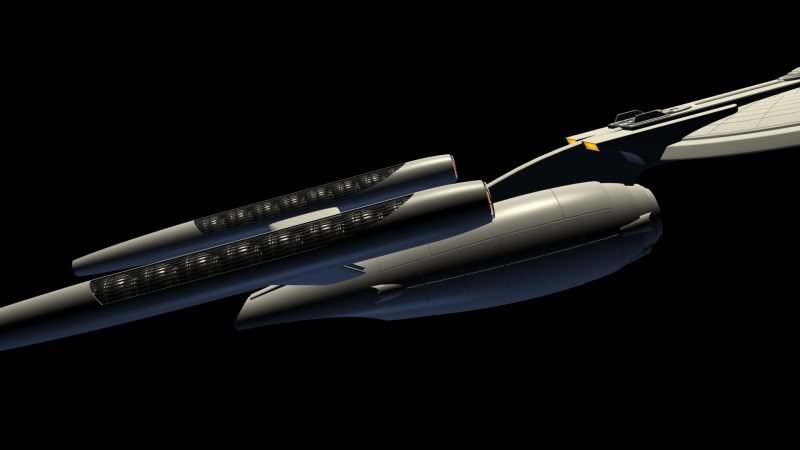
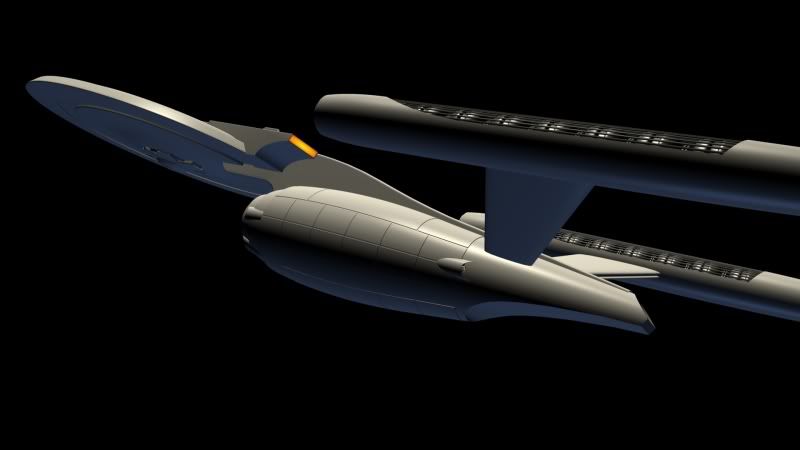
4. Warp Nacelles.  This is what took me so long between updates.  I wanted to create original nacelles for this ship, for a number of reasons.  First, to differentiate it from the Enterprise.

Secondly, according to the specs, this ship is almost twice as long as Enterprise-A.  I suppose it's possible that they would make the exact same nacelle on a much larger scale, but that seems kind of unlikely.

So basically, here's what I have come up with.  They need a lot more detailing, which is to follow.  I created several different nacelles, but wasn't happy with any of them until this one.  


5
Finished Works and Works in Progress / Re: RENDERS from last year.
« on: April 16, 2010, 08:58:07 am »
Oustanding work!

6
Incredible work, the tunnel scene is beautiful.

7
This are textures done with two layers of elongated aztec and a layer of patina as described above:


8
Thanks very much, and I certainly appreciate the work you did to contribute to the project.

I've been screwing around with aztec textures for quite a while, trying to get them to look right.  As it happens, the method for creating them you guys pointed out here is more or less what I had come up with as well on my older Enterprise project.

I'm not a huge fan of the Polar Coordinates function in Paint Shop Pro 8.  The farther out you get from the center, the more your edges get extremely blurry or jaggy.  I had managed to comepensate for this somewhat by creating the aztec pattern on a 128 x 128 canvas, then resizing it to 128 x 2048 and saving it as a pattern swatch.  Then I used that to flood fill a 2048 x 2048, then applied Polar Coordinates.  

One aztec layer honestly doesn't look that great, so what I did then was set the swatch size to 50%, flood filled another layer on top of the first with it, applied PC to that, then set the transparency to about 50%.  On top of that I put a steel texture with some blemishing and came up with this for my enterprise model:


I was reasonably happy with it, and for at least a couple of renders, the bump map seemed to work properly on the hull lines.

And that brings me to bump maps, and why there will be none on this model.  I've had no luck with them on any Star Trek ship I've done.  They seem to work for a render or two, then like over half of the bump map seems to reverse on render, bumping up where it's supposed to go down, etc.  I thought this was something to do with Anim8or, but it did it on Blender as well.  I'm not sure why, I tried everything I could think of to fix it.  Maybe it's to do with the saucer shape.  No idea, but there won't be bump mapping on this model.

With that in mind, I was experimenting around with actually modelling the aztec texture:
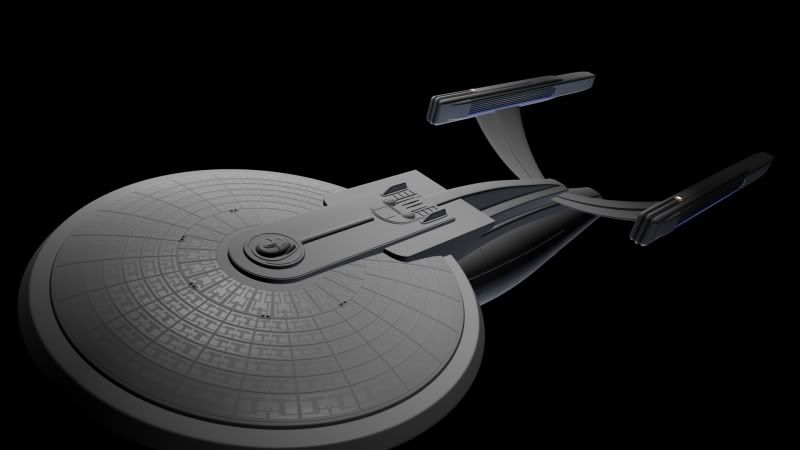


Very high in poly, but lines up perfectly with the existing hull lines, something else you're not going to get with Polar Coordinates.

I think where I will go from here is eliminating the aztec modelling, but rendering it into an image that I will base a texture off of.  Should look almost as good, with much cleaner lines than PC.

9
O.O

That is INCREDIBLE work, really top-notch. :)

10
Thanks guys. :)

Arik: I remember seeing some stills of the re-imagined Enterprise before the 2009 movie came out and thinking, "God, that looks awful."  They certainly didn't do it justice, it looked amazing in the movie.  That may well be my next project.

What I liked about the Original Series Enterprise, the movie refit and "1701-A", and the 2009 reimagined Enterprise is they don't go hog wild with glowy crap, as they started to do from The Next Generation on.  They seem more believable somehow, the style was distinctly different.

Meep:  In most cases, they are "stuck on" - separate meshes intersecting each other to look connected.

11
Finished Works and Works in Progress / Re: 1966 Jaguar E Type
« on: March 18, 2010, 02:52:38 pm »
It looks good, very nice detailing you have going on there.

The only thing jumping out at me is the tire...looks like there's a ton of interior faces in there (the area where it looks almost white).  Did you extrude that with Extrude or Extrude Connected?

Looks like you could delete all of those interior faces and most of their associated points and edges and save big-time on poly count.

12
I'm afraid there is no remedy for that in anim8or Olias.. I usually go to 3ds max to do the beveling. You can do it a little bit with cutting the edges where you want it, but that takes a lot of tweaking.

Your model is looking really good though, keep it up!

Well that's a comfort.  If there was a way to do it in Anim8or and I'd somehow managed to miss it all these years, I'd feel like a flaming idiot. :p

And thanks. :)

13
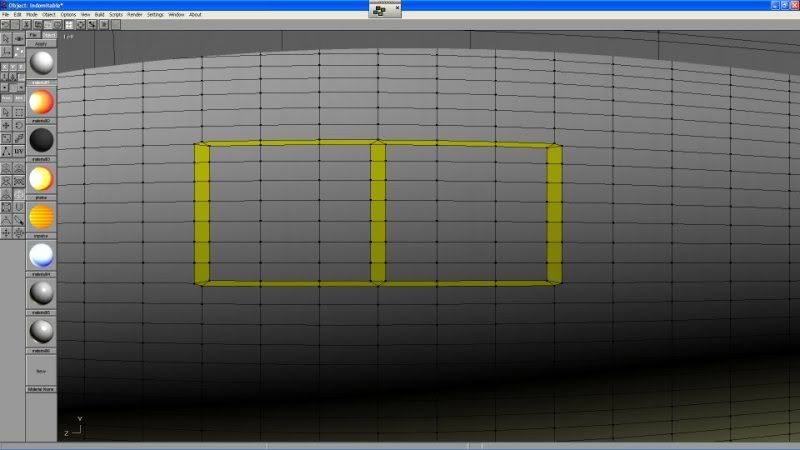
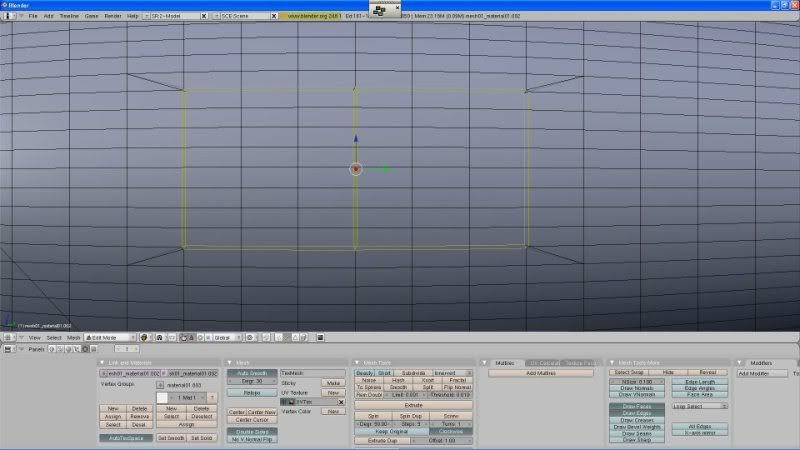
Here's an illustration of what I was talking about with the bevelling, as I'm sure my description didn't make a lot of sense:

Anim8or:

Selecting the outline of two hull panels:


The bevel.  Note how horizontal/vertical is not uniform:


Result of doing the same thing in Blender.  Uniform bevel, and the look I wanted here:


Maybe there is a way to get Anim8or to do this, but if there is, I don't know it.

14
Thanks guys. :)

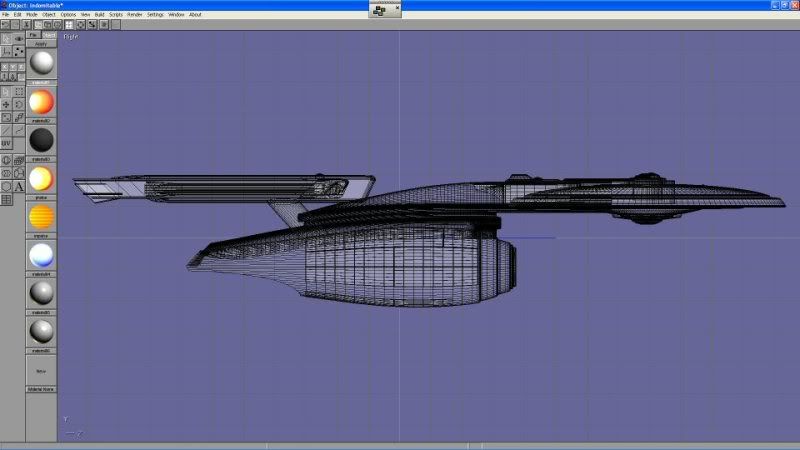
@MeepII:  I guess the short answer to your question is:  model everything.  This comes at a pretty heavy price in terms of poly count, and is definately something to consider when you begin a project.  This model, for example, would be totally unsuitable for a game.  Of course, that wasn't the objective and would call for a different approach. 

I've also been using the bevel tool more on this model than I ever have before, to sweeten up the edges.  There's very few things in the real world that have a totally sharp and uniform edge, and those sharp edges are often one of the biggest factors in something looking artificial.

I have to make a confession: this model is probably 95% built in Anim8or, 5% in Blender.  In certain situations, Anim8or extrudes better than Blender, and bevels better than Blender.  In others, the reverse is true.

To do the hull plating on the secondary hull, for example, I selected the edges that would outline the plates and beveled.  In Anim8or, the vertical edges would inset much further than the horizontal edges.  So, I exported the model to Blender and did the bevel there (which was uniform), then imported back to anim8or for the extrude.  Back to Blender for the edge bevel, and back to Anim8or to continue on.

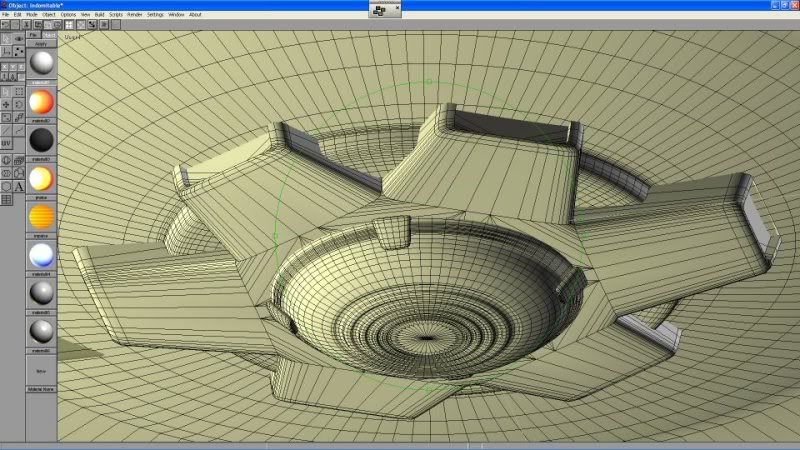
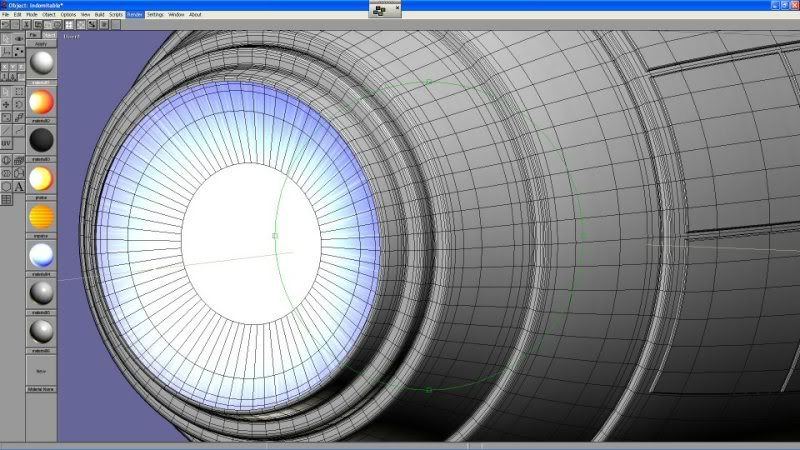
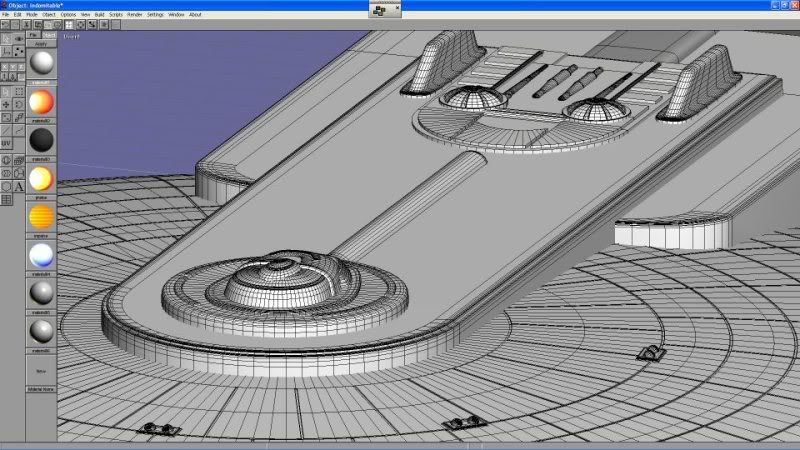
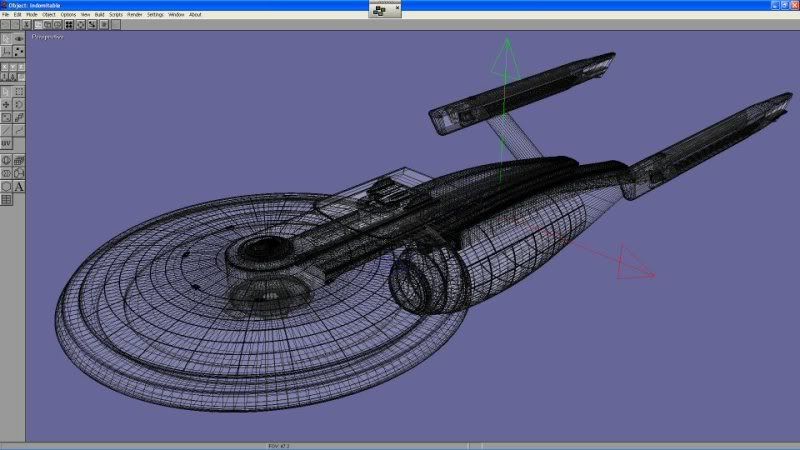
Here's some wires:


15
Very nice work. :)

Pages: [1] 2 3 ... 6